Painter, texturer, educator, judge: just a few words to describe look development artist Zak Boxall.
British born and bred, Zak currently calls Australia his home, working at ILM’s latest Sydney facility after stints at MPC, ILM London and Weta Digital in Wellington, New Zealand.
Whilst at MPC in its 2D department, Zak got chatting to artists working in the assets department, and that’s when inspiration struck and shaped his future.
“Texturing and look development required skills that were all the things that I was already passionate about—traditional painting, photography, engineering, building things with my hands,” Zak tells us. “It had the right mix of technical and artistic skills.”
“Since then, I’ve never looked back and continue to try to develop my texturing and lookdev skills, by doing personal projects and getting outdoors to observe the real world.”
Zak’s first role in assets was in the Digital Model Shop at ILM London, for three years. Now, his career has come full circle, and Zak is proud to call himself a texture and look development artist at ILM Sydney.
“It’s a really exciting opportunity to be at the beginning of a brand new ILM studio,” he comments. “Being part of bringing the ILM culture to this side of the world is very exciting.”
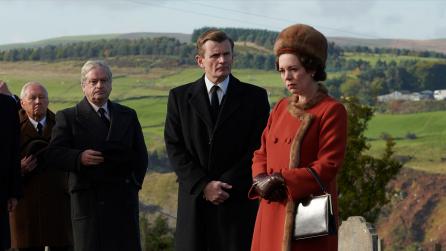
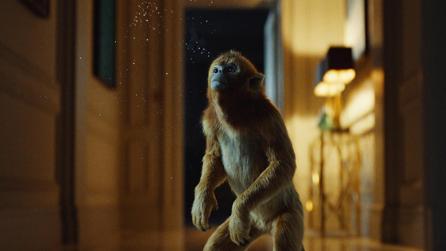
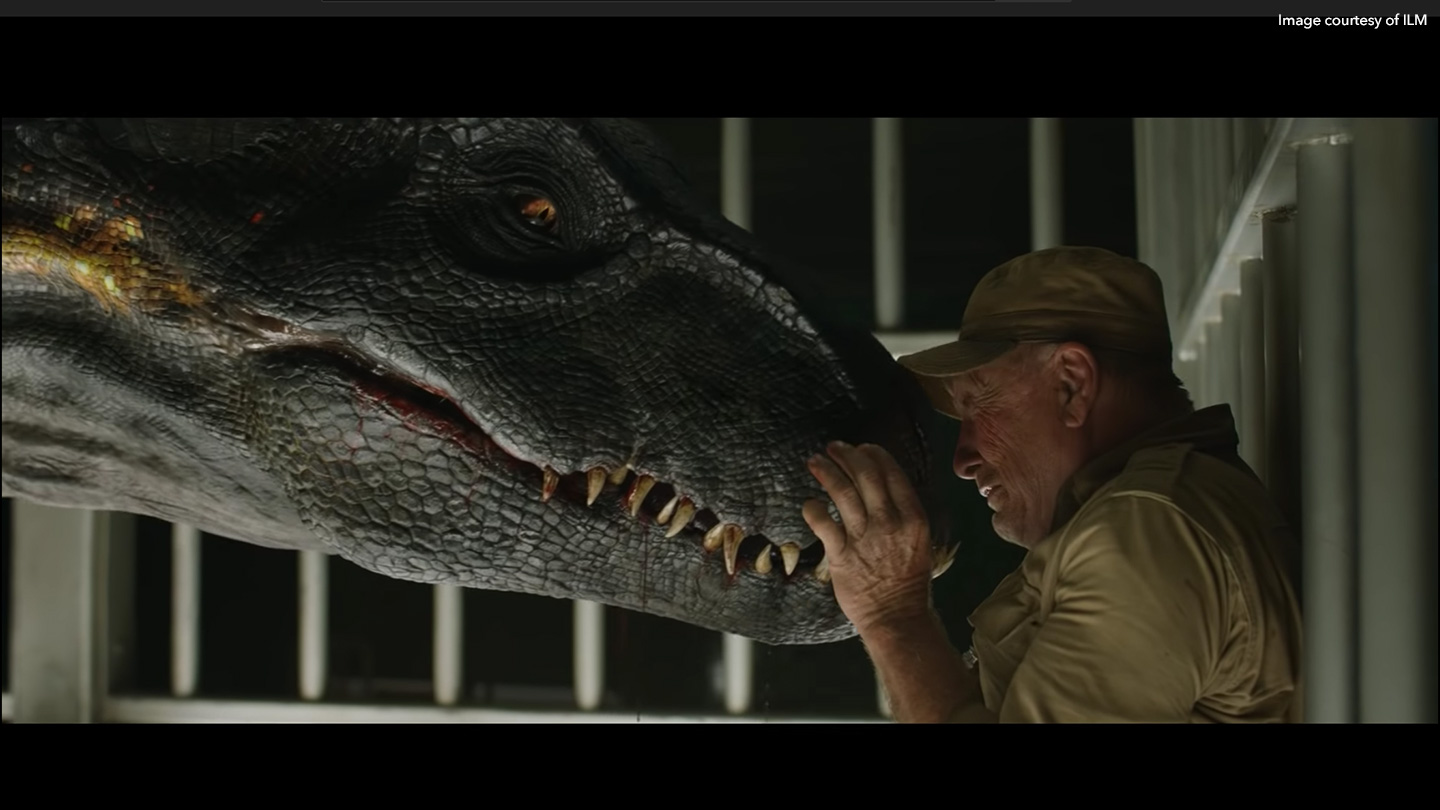
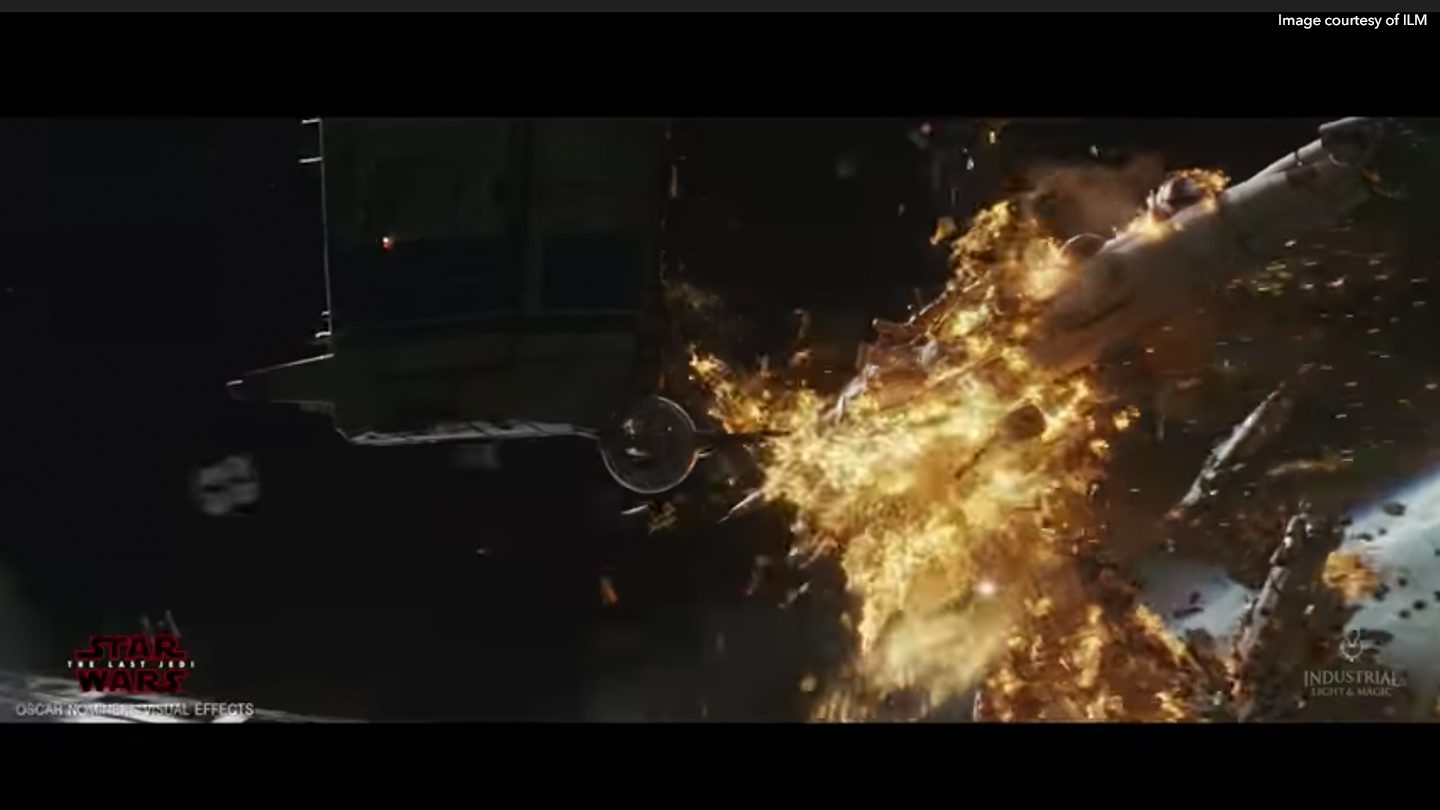
Exciting times, indeed—bolstered by a varied career working across blockbuster IPs like Star Wars, Jurassic World and the Marvel and Disney franchises. Zak’s breadth of experience and expertise, coupled with a desire to share this with burgeoning artists, naturally feeds into his role as an educator.
“Being collaborative and sharing knowledge was always positively encouraged in the ILM DMS team in London,” he tells us. “It made for a great culture and something I’ve tried to carry into my career.”
To this end, Zak has worked as a part-time lecturer at the University of Hertfordshire and at the University of West London, sharing tips and tricks on texturing and look development. He also counts himself as a judge at the annual Rookies, presiding over creations from the next generation of artists.
Zak loves experimenting in Foundry’s texturing and painting tool Mari, providing tutorials off the back of this for other Mari users. We caught up with him below to get the scoop on his texturing tips, tricks and expertise.
Q: What sources of inspiration do you draw from when it comes to texturing across a wide array of projects?
A: I always try to draw inspiration from the real world. Whether it’s taking a trip to an animal sanctuary, an air museum, reading books or watching documentaries. Looking at how things look in the physical world, and not just looking at pictures you download from the internet. This can help give you an appreciation for form, how light reacts to surfaces and actually seeing something for real can help you observe things that you might miss otherwise. Essentially building up a mental library for what feels realistic, as well as a digital library of textures.
I’m always fascinated when researching real world examples of the asset I’m trying to paint for inspiration. I’m often surprised by weird and wonderful naturalistic nuances that occur in real life–I try to bring elements from the real world into my textures.
Q: What’s your favourite type of asset to texture, and why?
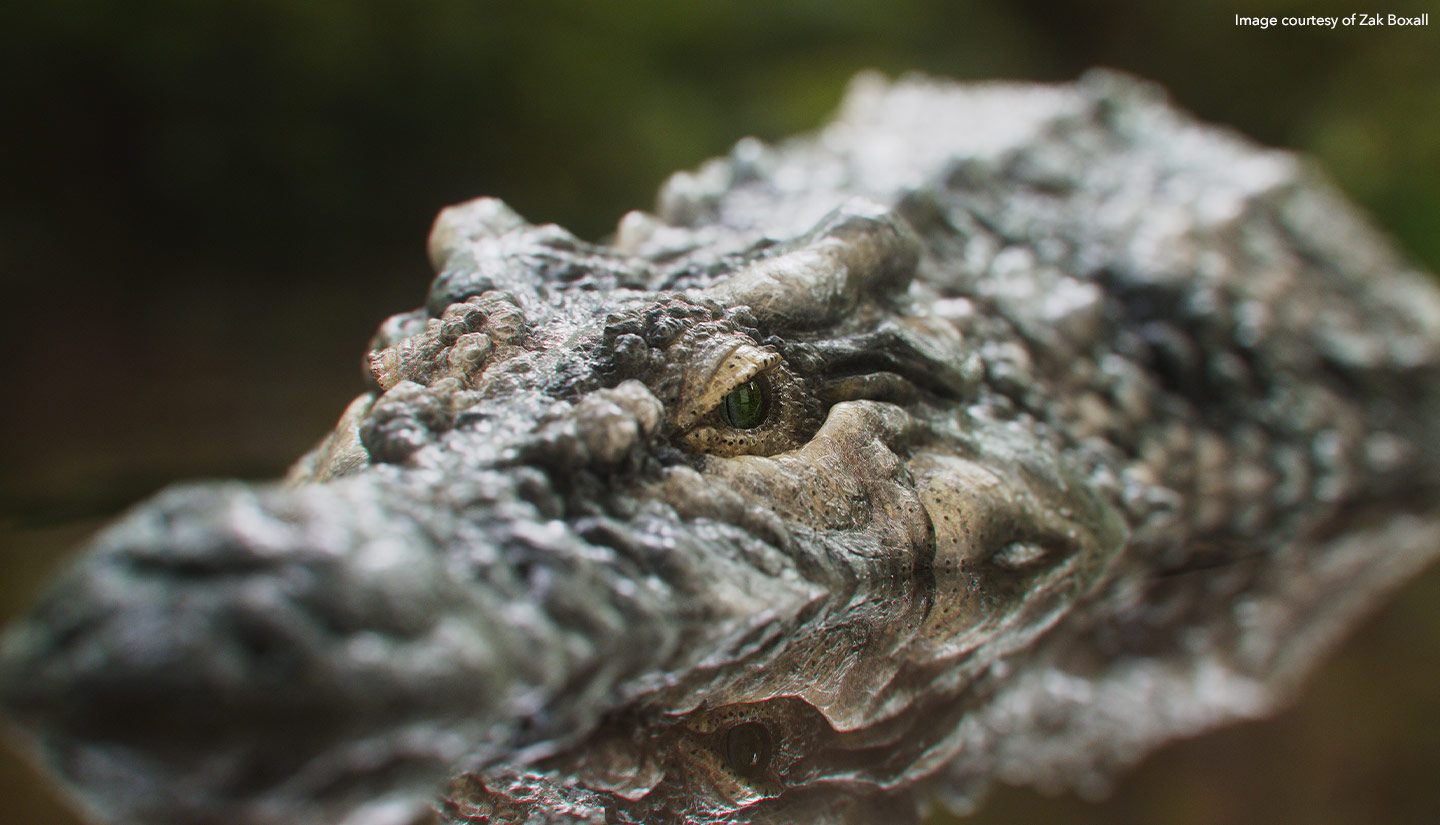
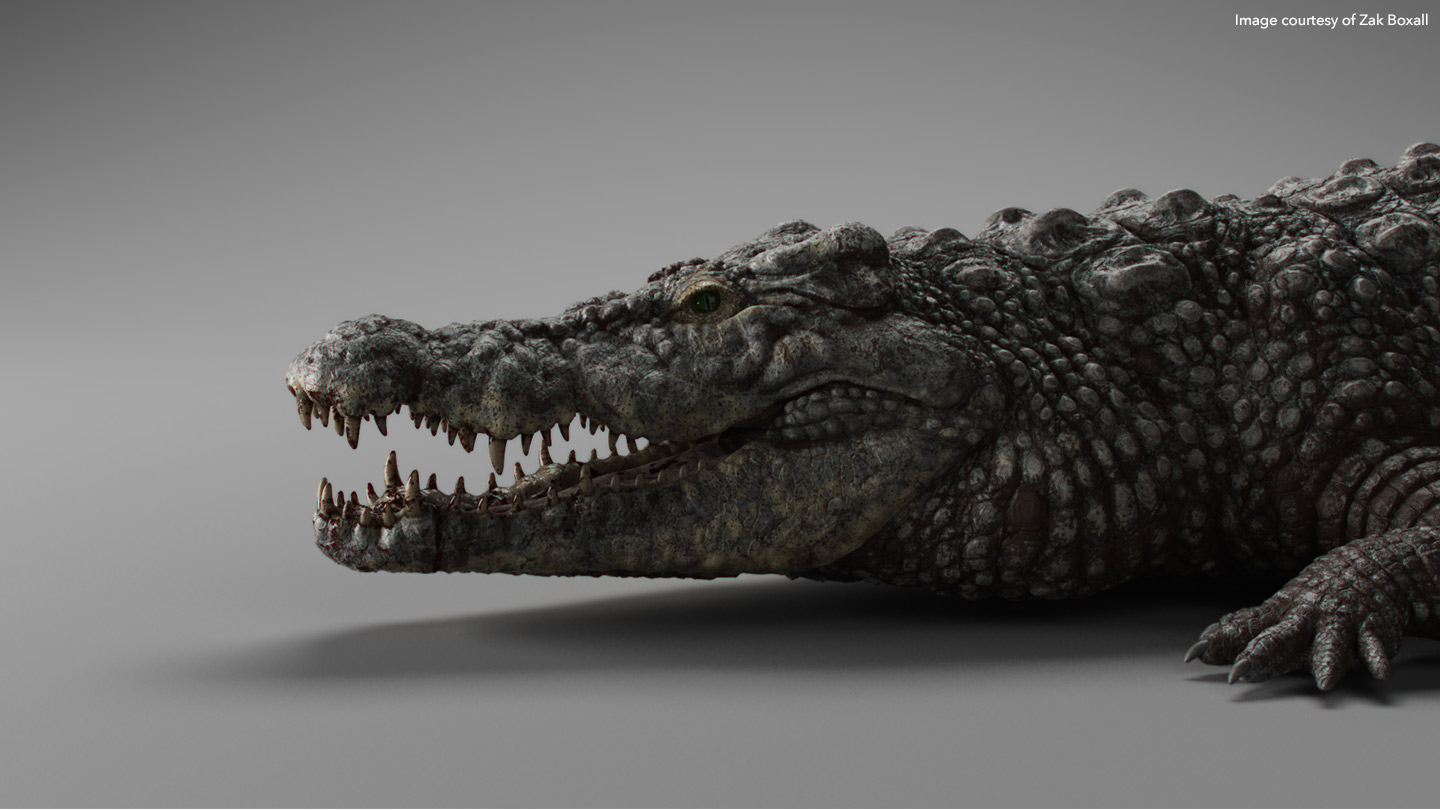
A: I get huge satisfaction in trying to bring life to an asset through painting textures. I love painting creatures. Telling a story through textures to help give the illusion an asset is living and breathing is the most challenging, yet rewarding, type of work for me. Animals have always been a fascination to me, and I love painting reptiles.
Q: What challenges did you have to overcome in order to get to where you are today? What skills have you had to develop to overcome these?
A: Learning how to be an efficient production artist has helped me the most in my career. I’m learning every day, but finding the right balance of how you would technically approach an asset, whilst not detracting from the art and fundamentals of texturing is always a fine line.
I think it’s healthy to always embrace being open to learning new techniques, software, tools and constantly asking the question: “how can this be improved?” The great thing about this industry is not one artist would approach a task the same way; there’s always something to learn from someone. Finding people who you trust to give you critique is the best way to sharpen up your skills and your artistic ‘eye’ for what looks aesthetically good.
Being a good production artist isn’t only about painting textures. The soft skills are often just as important—being articulate with communication is something I’m trying to develop as much as my technical approach to texturing. Asking the right questions and presenting your work can often prevent verging off-direction.
Having knowledge of a variety of approaches can only benefit you to be an efficient production artist to choose the right tool for the job—all whilst concentrating on the fundamentals of texturing and developing artistic skills. I like to do this by working in traditional mediums and creative personal projects in my spare time.
Q: Can you give some insight into your experience working with Mari - how and when did you start learning it, and do you use it in combination with any other software?
A: I’ve been using Mari for around 7 years. I began texturing in photoshop, and found that as soon as I picked up Mari, there was no going back. I distinctly remember feeling the freedom of painting in context, with all the guesswork taken out. Since that point, Mari has been my tool of choice on every asset.
I view Mari as the heart of my texturing pipeline. I do use Mari in conjunction with other packages, like Nuke and Substance Designer, to generate patterns, tileables and baking utility maps. Everything will be fed into Mari where I’ll composite together and paint my textures. The beauty of Mari is that specific lighting environments can be loaded up in Mari and Katana, and, as an even bigger bonus, the same shader can be used in both packages. This is incredibly useful for gauging an approximation for shader response, ultimately reducing iterations.
Once I’m happy with my maps, I’ll render in Katana. At this point I’m using Mari and Katana in unison—I can rebake any texture changes and update my render in Katana. I can make lookdev changes in Katana, bake the changes into the textures, and zero out the changes I made in Katana. It’s a fluid process, but having both packages working harmoniously is tremendously beneficial.
Q: How does Mari support your texturing expertise? What benefits does it bring?
A: Mari has the ability to handle huge amounts of data that doesn’t restrict the creative process due to technical limits of software. It allows the painting of assets that can span across hundreds of UDIM tiles, painting multiple channels at once, supporting model and UV updates and production requirements of working non-destructively. I can essentially work on any asset in a production environment and have faith that Mari can handle whatever you throw at it.
Q: What are you enjoying most about the version of Mari you’re working in, what are you excited about in upcoming Mari releases, and what would you like to see beyond these?
A: I’m really enjoying using the node graph, breaking away from the traditional layered based way of painting. I feel it gives me the freedom to work in a way where I can add a level of complexity that helps me on my way to achieving a photorealistic look. I’m currently utilizing the node graph by developing tools to speed up workflows which allow artists to be more efficient, consistent whilst enabling them to package up processes to share across the team.
Q: What roles do Mari and Katana play in your Look Development workflow?
A: In Mari, I’ll paint all maps and masks. For and hard surface assets, the ability to view the same shader and use the same HDRI lighting information through Mari and Katana can save a lot of time iterating on balancing textures.
For more character work, I’ll paint the displacement maps in Mari, I’ll then render grey shaded in Katana and get the surface details it looking as I expect, and keep iterating in Mari, overwriting the maps and rendering in Katana until I’m happy. With translucent skin, where its ‘look’ can be very shading dependent, I can start blocking specular response, sub-surface scattering in Katana and then introduce a colour map I’ve blocked out in Mari. This will inform me how the diffuse colour looks. From then I will go back to Mari, feed any colour adjustments I made in Katana, to continue working on the colour map.
Once I’m in Katana, I can continue balancing the maps—get a result I like and feed those changes back into Mari. It’s a very fluid process, but certainly having both packages working together takes a lot of the technical problems associated with going in and out of different packages.
Q: How far do you push texturing in Mari before you switch to your render engine and integrate your texture maps within renderer shading nodes?
A: I always like to see things in context as quickly as I can no matter how hero the asset. For hard surface assets, I can assemble the materials, balance rough shader responses in the Mari viewport, paint some rough procedural masks, to then view in Katana where I know I’ll get raytraced shader responses. From then, I can be much more informed as to what it will look like in shots and where I can start making changes and adding/removing details.
Generally, I’d spend more time pushing my texture maps in Mari for hard surface assets. Whereas for more character work, I rely less on shader responses from the Mari viewport and move to the render engine at an earlier stage.
Q: What is your balance between bringing mask textures into your renderer to tweak look development vs doing more in Mari to reach the final look and simply plug maps into your render engine shader?
A: It’s entirely dependent on how hero the asset is. If it’s a hero asset it’s going to involve more masks to achieve the final look, if that’s the case bringing in masks to the renderer can allow more flexibility. But if the asset doesn’t get very close to the camera, the bulk of look development can be done by baking the adjusting to the maps in Mari.
Q: Where do you see Mari and Katana providing solutions to address the challenges you face creating look development workflows in your day to day?
A: Mari is by far the most robust texturing package. This, combined with the hierarchical nature of Katana, make them my tools of choice—both are more than capable of meeting the demands of high-end visual effects assets.
Q: With the context of prop look development, how important is traditional texturing vs procedural shading techniques?
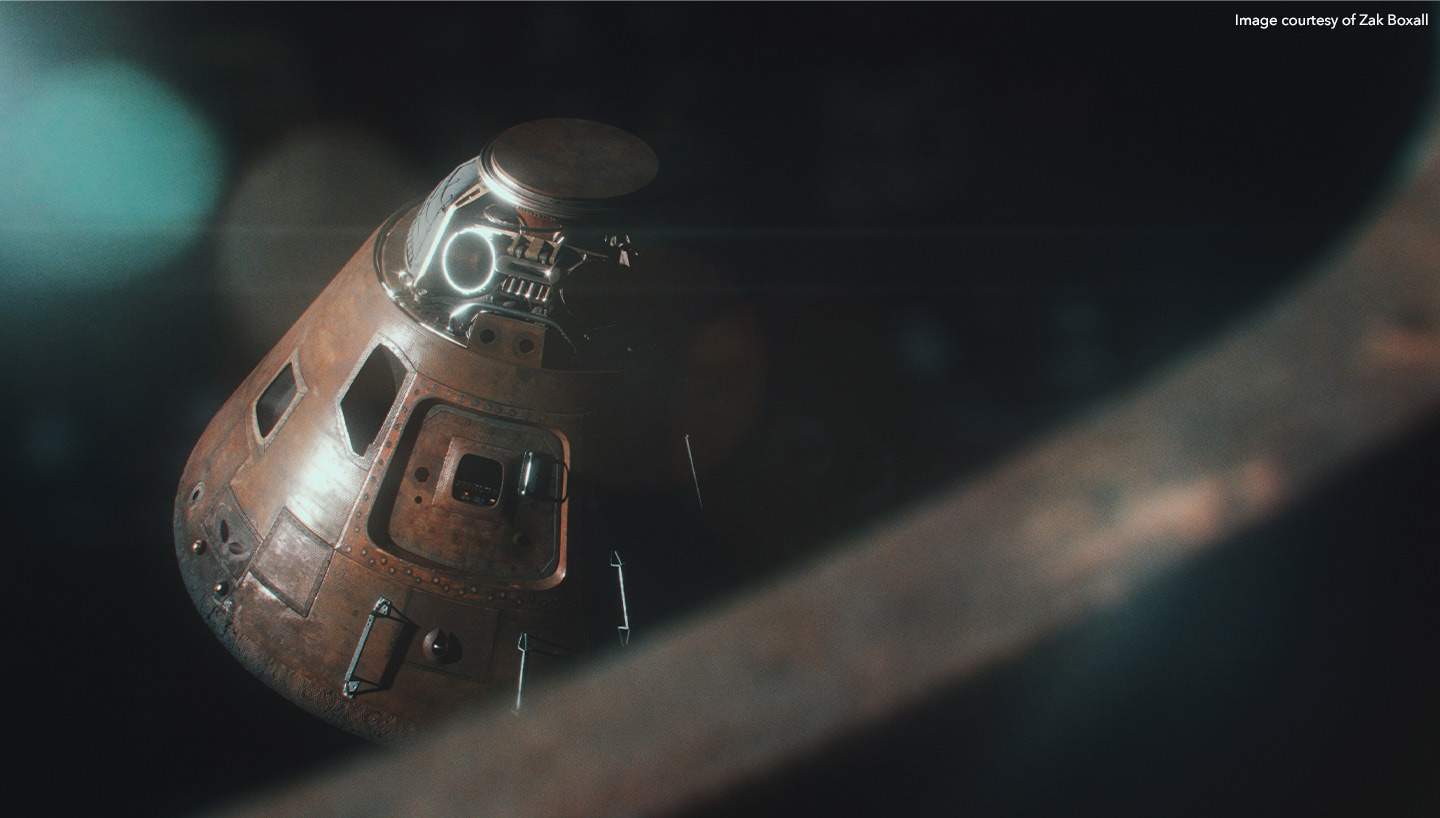
A: With props that are based on a physical model on-set, traditional texturing where extracting masks from photos and projecting onto a model is still the best way to replicate the photography. Combining masks from photography with procedural tiles to add surface details often is a great way to incorporate the techniques.
Q: Do you see the best character look development workflow as hand painting all the way, or are there techniques to take advantage of proceduralism too?
A: I believe there is a misconception that proceduralism and hand painting are two completely separate things. In the instance when you need to match photography, then projecting reference is always going to be preferred. As production turnarounds are being shortened, this is forcing artists to work in a way (procedurally) that means they can’t necessarily commit to hand painting from the first stage as the model or UV’s can change at any point—which could mean repainting any areas of the model that change.
By using procedural tileables to block, colour, scale and feel of a character would be the first stage to ensure full quick coverage of an asset. But I think it's advantageous to build these procedurals in a way that means you can always incorporate hand painting every layer, whether that is projecting photography or painting in and out mask data.
Knowing that procedurals are great for quickly blocking—ensuring you can spend more time hand painting and art directing the areas of the model that really matter.
Q: Environment look development is typically highly procedural to achieve maximum coverage, but does projection painting play any part in elevating the look?
A: Even more on environments, we lean more towards procedural techniques as they cover much larger areas. Working procedurally not only means blocking quickly, but also allows for consistency on colour and frequency across assets.
Projection painting most definitely plays a part in elevating the look, more than likely when an asset may get close to camera you may want to remove details, break up the uniformity, or add that carefully placed leak to sell the shot.
Q: Do you have tips and tricks for burgeoning artists looking to invest in Mari and for look development?
Mari is free for non-commercial projects which is fantastic for people wanting to access Mari to learn or keep developing their skills.
When starting out, have fun and enjoy the process of building something from scratch. Starting out using presets won’t teach you how to texture, or make something look realistic. Start with small projects, and try to work on the finer details as well as the bigger picture. Mentors are a great way to get industry insight—there are plenty of people you can message on LinkedIn who would be happy to give you feedback.
Q: Do you have any wider tips for artists looking to break into the VFX industry, and specifically look development? What’s out there that these same artists should pay more attention to for employment/skill-up opportunities?
A: Ask questions about the asset you’re going to be painting. What environment does this asset belong in? How old is it? What’s the story you’re trying to tell? By asking these questions before you start painting anything, it’ll give you time to research real world examples to inspire you to paint a more convincing asset.
Although procedural techniques are great for laying down a base, try to not over-rely on them to come up with the look of your asset. Over reliance on procedural techniques often leads to assets looking manufactured or generic. When building procedural masks, try to incorporate the ability to hero paint at every level. Being able to add, remove or project photos from the real world is a great way to have a more organic look. Less is more, and always try to tell a story.
Q: What do you think is in store for the future of look development? How does Mari fit into this, in your opinion?
A: Having the continued development for performance upgrades. I find no package comes close to Mari for painting and layering complex, high resolution masks and photo projections. So constant speed increases are always needed as demands increase with assets getting closer and closer to screen.
Check out Zak’s full portfolio here and put his tutorials into practice with Mari